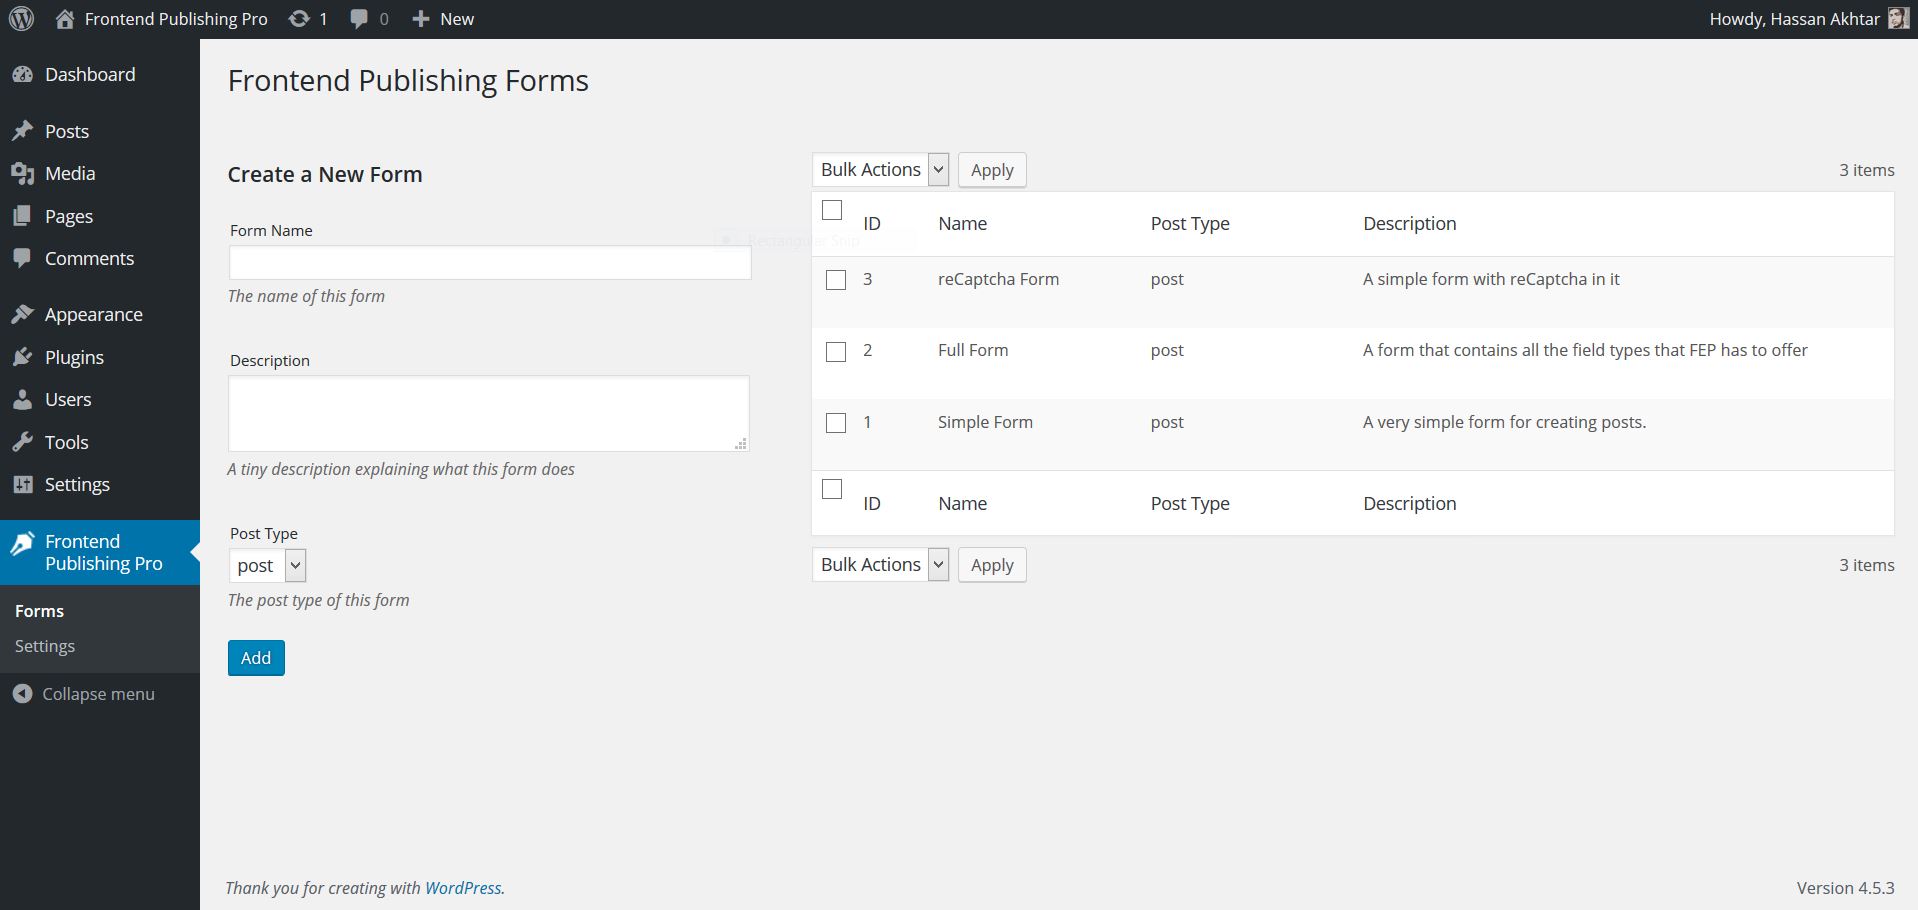
Step 1:
Start editing the form for which you would like to create a custom field.
Step 2:
In the Fields tab you will notice a small box on the right side titled Custom Fields.
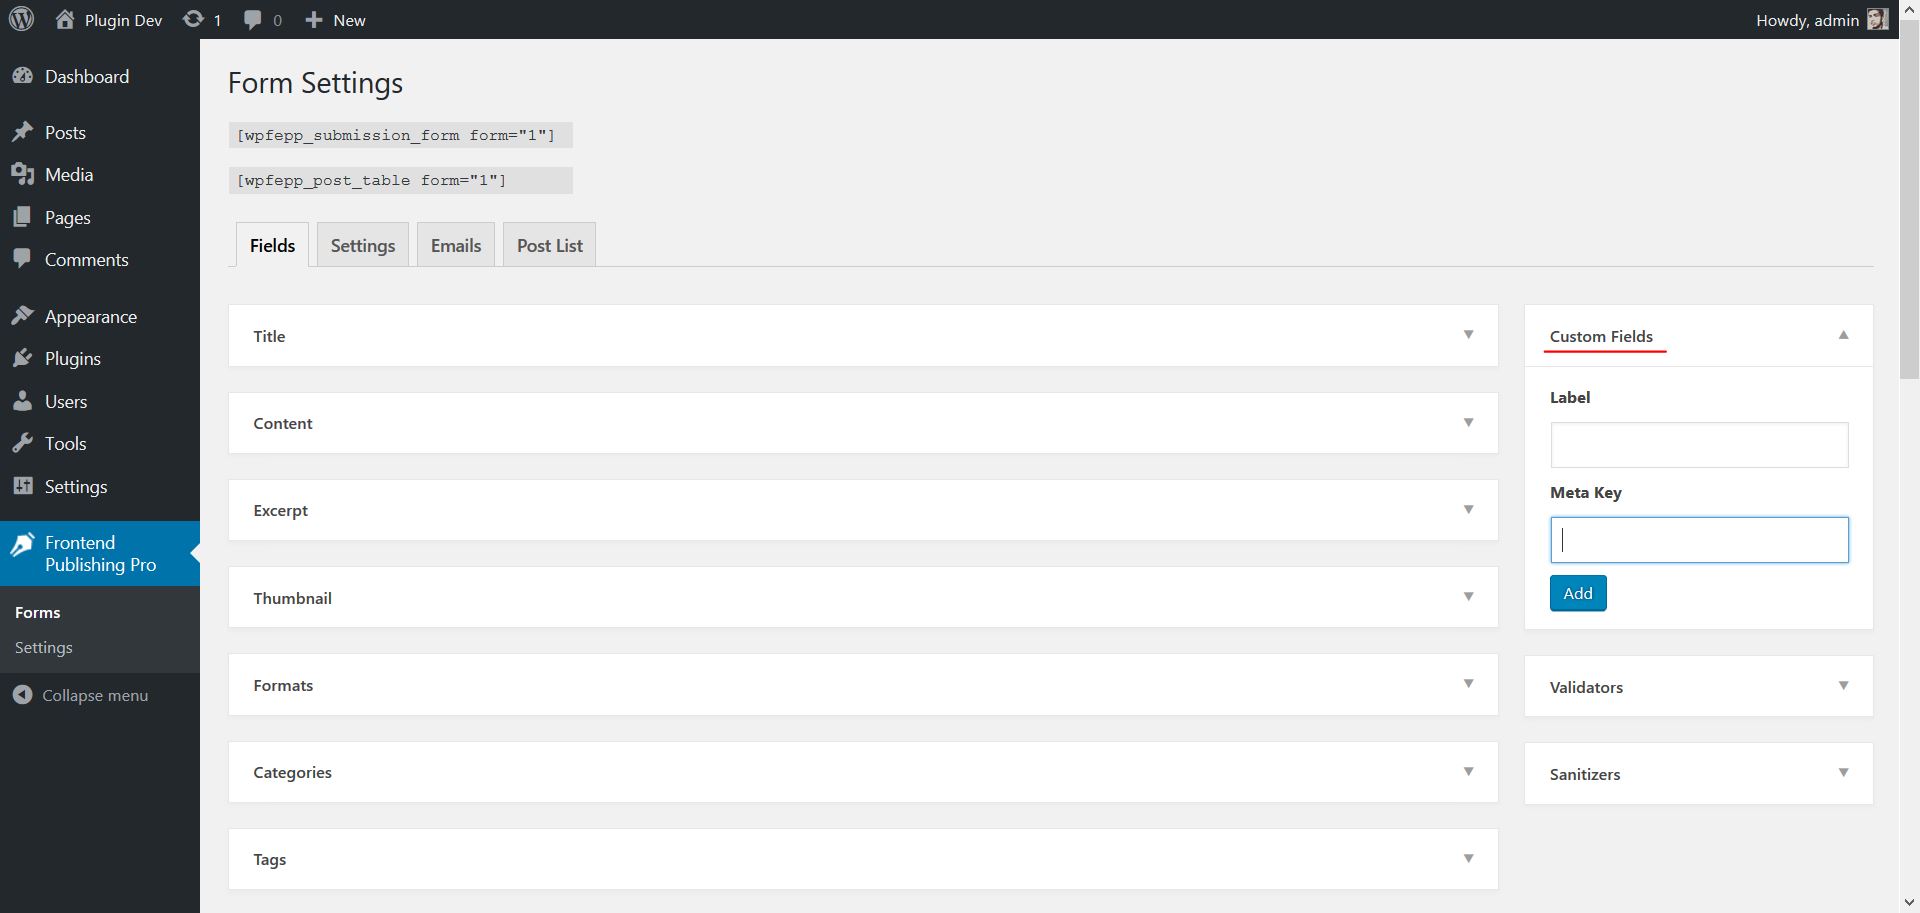
Enter a label and a meta key, and press Add. The Label can be anything you like. The meta key however can only have lower-case alphanumeric characters along with ‘-‘ (hyphen) and ‘_’ (underscore).
Note: If you are not sure what meta key means, read our short post on wordpress post meta keys.
Note: If you are adding the meta key from an existing plugin you might want to read our tutorial on how to find meta keys.
Step 3:
On pressing the Add button a custom field should appear at the bottom of the page. You can re-order it like other fields or delete it using the little cross at the right.
Here’s an explanation of some important custom field settings:
Save to Post Meta: Whether FEP should save the information entered by the user or not? In most cases this should be checked but if you are a developer and are handling the value using a PHP action/filter then you can disable this.
The newly created custom field should now appear on the form. However the value entered by the user will not automatically appear anywhere on the post. If you want to display it on the post read our tutorial on how to display custom field values.